
You can change the Wi-Fi network of your Smart Life devices in two ways:
- Removing and re-adding the devices on the Smart Life app. This is Smart Life’s built-in way to modify your devices’ Wi-Fi network. You’ll need to remove the device, add it again (“+” > Add Device), and change its Wi-Fi network from there.
- Changing your Wi-Fi’s SSID to the SSID of the network linked to your device. This is renaming your Wi-Fi network to the name that your devices remember. This changes the Wi-Fi of multiple Smart Life devices at the same time.
Here’s a guide to help you decide on which option to commit, as well as step-by-step instructions on how to do them and more helpful details for efficiently changing your Smart Life device’s Wi-Fi network:
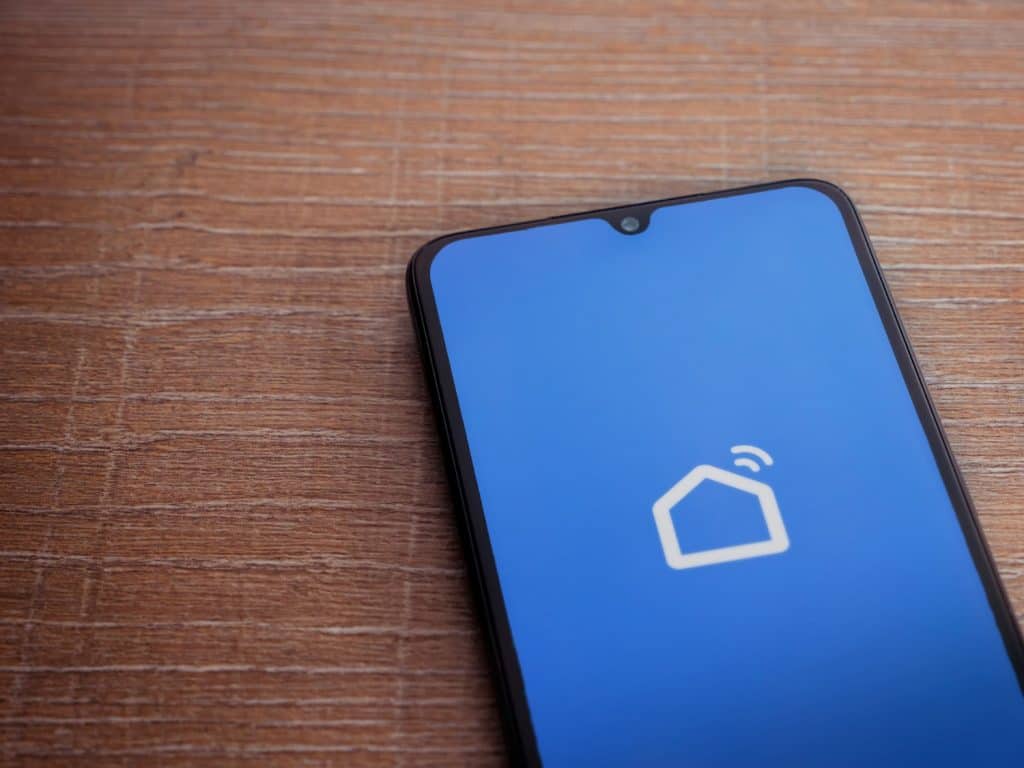
Changing Your Wi-Fi Network on Smart Life: An In-Depth Guide
Your Smart Life devices’ linked Wi-Fi network may require changing after making any significant modifications to your home Wi-Fi. Some common examples of this include:
- Switching Internet Service Providers (ISP)
- Changing your Wi-Fi name or password
- Replacing or upgrading your router/modem
- Connecting your Smart Life devices to a sub-network, such as a Wi-Fi extender
These situations often reset your Wi-Fi network and necessitate updating your Smart Life device’s Wi-Fi network to be in sync. Otherwise, your devices will operate sub-optimally as they need a Wi-Fi connection to properly function.
You can change your Smart Life device’s Wi-Fi network either by manually removing and adding the devices on the Smart Life app or changing your Wi-Fi’s service set identifier (SSID) to the SSID of the network linked to the devices.
Do note that these two solutions have some differences well worth considering. Here’s a quick table on how these two methods compare:
| Methods | Pros | Cons |
| Manually removing and re-adding devices | Surest way to change Wi-Fi network | Tedious, especially for many devices; clears automations |
| Changing Wi-Fi SSID to device-linked network SSID | Can change network for multiple devices at once | Not guaranteed to work; risks disconnecting all devices |
Both solutions work for all Smart Life-compatible devices. Manually removing and re-adding your Smart Life devices will involve the same process, and changing your Wi-Fi’s SSID will automatically apply to all connected devices.
These solutions also work even if your Smart Life devices are connected to a home assistant such as Google Home or Alexa. However, you’ll need to reconfigure your Smart Life devices on your home assistant after changing your Wi-Fi network.
Manually re-adding the devices or changing the Wi-Fi SSID?
Changing the Wi-Fi SSID is the fastest way to change the Wi-Fi network of multiple Smart Life devices at the same time. It also risks disconnecting your Smart Life devices from the Wi-Fi network they remember.
This can be inconvenient if you still need your devices to function on the old Wi-Fi network while changing them to the new one. For example, you may have some important appliances or devices connected to your Smart Life-compatible sockets.
Thus, if you own multiple Smart Devices, you may be weighing the risk of accidentally disconnecting all your Smart Life devices on their remembered Wi-Fi against the tedium of manually re-adding your devices on your Smart Life app.
Here’s a good rule-of-thumb: For five or more Smart Life devices, change the Wi-Fi SSID to the device-linked network SSID as your first solution. If you have less than five devices, you’ll likely save more time removing and re-adding your devices.
Changing your Wi-Fi SSID is also a procedure that varies depending on your ISP and router, generally taking around 15-30 minutes. Usually, you’ll need to go on your web browser or the ISP’s app and reconfigure your Wi-Fi’s SSID from there. So, if you have less than five devices, you might as well manually re-add them on the Smart Life app and avoid the risk of disconnecting all your devices from your Wi-Fi.
2 Effective Ways for Changing Your Smart Life Wi-Fi Network
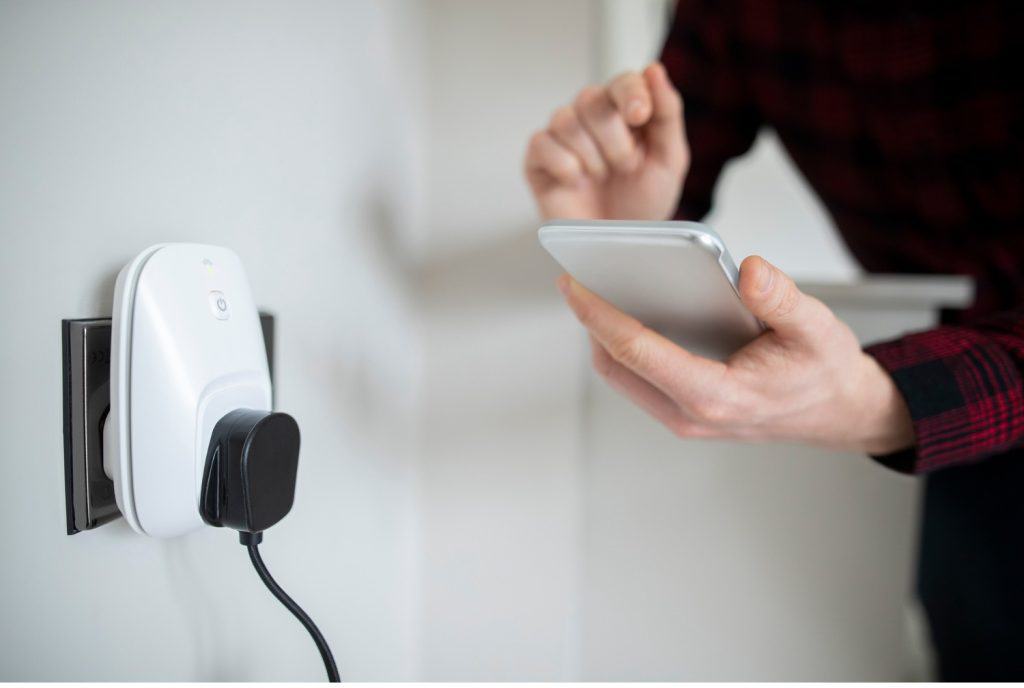
1. Removing and re-adding the Smart Life device in the Smart Life app
Removing and re-adding your Smart Life devices is the only way to natively change their connected Wi-Fi network. Unfortunately, there’s currently no way to simultaneously change the Wi-Fi for multiple devices in the Smart Life app.
Removing and re-adding your Smart Life devices also erases any automation routines. You’ll need to reconfigure any routines like Tap-to-Run or routines set in Alexa or Google Home.
While an inconvenience, this is the most certain way to change your Smart Life devices’ Wi-Fi network. Be ready to enter your Wi-Fi password, as you will need to provide this multiple times for each Smart Life device.
Removing and resetting your Smart Life device
- Open your Smart Life app on your phone or tablet.
- Log in to the app with your Smart Life account.
- Tap on the device whose Wi-Fi network you’d like to change.
- Tap on the pencil icon on the top-right of the screen.
- Scroll down and tap on Remove Device.
- Tap on Disconnect and Wipe Data, and tap Confirm. This “hard” resets the device.
- After resetting the device, it’s time to re-add it to the Smart Life app with the new Wi-Fi network.
Re-adding your Smart Life device in the Smart Life app
- On the top-right corner of the Devices page of your Smart Life app, tap “+” > Add Device.
- Select your device from the selection of Smart Life-compatible devices.
- Select your desired Wi-Fi network and enter your Wi-Fi password.
- Tap on Next.
- Follow the prompts to pair your Smart Life device to your Smart Life app. You’ll usually need to turn off your Smart Life device, turn it back on, hold its RESET button to initiate pairing mode, and confirm that it’s been successfully paired on the app.
- If the pairing process is successful, the Smart Life app will indicate that the device has been added. Once added, it should now be connected to the new Wi-Fi network you desire.
2. Changing your new Wi-Fi’s SSID and password to the Wi-Fi SSID and password linked to your Smart Life device
Since there’s no way to natively change the Wi-Fi network of multiple Smart Life devices at the same time, one popular workaround is to change the Wi-Fi’s SSID to the one saved in the devices.
To break it down, your Smart Life devices “remember” the name (SSID) and password of the old Wi-Fi network. The devices automatically connect to the name and password of the SSID they remember.
Changing the new Wi-Fi network’s name (SSID) and password to the old Wi-Fi SSID and password that the Smart Life devices remember will “trick” the devices into connecting to the new network without needing to manually re-add them.
The specific steps for changing your Wi-Fi’s SSID and password depend on your router and ISP. Consider contacting your ISP or checking your router’s manual to know the proper procedure for changing your Wi-Fi SSID and password for your particular ISP and router.
The video and steps below demonstrate one of the most common ways to change your Wi-Fi SSID and password on a phone, tablet, or computer.
Changing your Wi-Fi’s SSID and password to the SSID and password remembered by the Smart Life device
Note: Doing this procedure will disconnect other devices currently connected to your Wi-Fi network. You’ll need to reconnect these devices to your Wi-Fi network after changing the SSID. You’ll also need to re-enter your Wi-Fi password if you’ve changed it.
- Know your router IP address. This can be usually seen at the back or underside of your Wi-Fi router. You can also go to your network’s Wi-Fi settings on your phone or computer to see your router IP address.
- Open any browser on your phone, tablet, or computer. Enter your router IP address in the search bar. This will open your router’s configuration page.
- You’ll be prompted to enter account credentials. If you rarely change your router’s configuration, the username and password are typically “admin”.
- If “admin” doesn’t work, look behind or under your router to see the credentials. Otherwise, consult the person who handles your home network or contact your ISP.
- Navigate to your Wi-Fi options and change your Wi-Fi’s name (SSID) to the one your Smart Life devices remember. Typically, this is the name of the Wi-Fi network before being changed or modified.
- Navigate to your Security options. Then, change your Wi-Fi password to the Wi-Fi password your Smart Life devices remember. (If the Wi-Fi password of the new Wi-Fi network is the same as the remembered network, no need to change this).
- Once you’ve finished changing your Wi-Fi’s SSID and password, your Smart Life devices should automatically connect to your new Wi-Fi network.